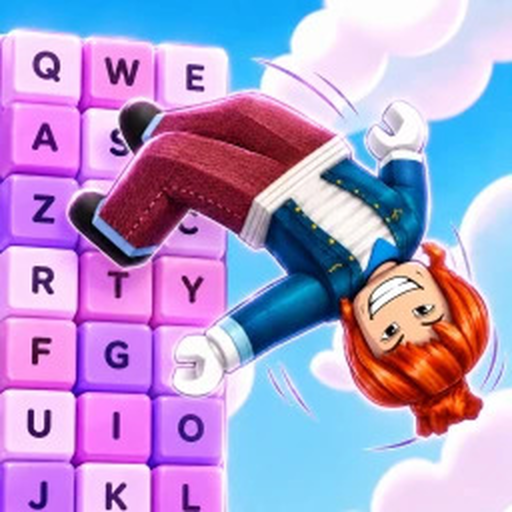
Backflip Keyboard Escape Roblox: How to Finish Stages
Use a safe Backflip Keyboard Escape Roblox stage method: scout keyboard landings, control timing, diagnose falls, and verify every live layout change.
Evidence note: This limited-evidence stage guide offers a repeatable observation method. It does not claim that unverified layouts, checkpoints, shortcuts, or Speed thresholds are complete.
Use a repeatable stage method
The safest answer to how to finish stages in Backflip Keyboard Escape Roblox is to separate training, scouting, execution, and review. Backflips add Speed according to the official description, while the course asks players to flip and jump across candy-and-chocolate keyboard keys. One wrong move may send a player back to the start, so information gained from each attempt matters. Launch the official Roblox experience and inspect the current layout before following a recorded route.
Scout before committing
Pause where your avatar is stable and move the camera until the next landing surface is visible. Identify its center, the edge most likely to catch an early landing, and any moving element shown in the live build. If an obstacle repeats, observe a full cycle. The goal is not to discover a universal timing number; it is to choose a clear visual cue in your own server.
- Keep the target key visible before starting the motion.
- Use the same camera angle for comparison attempts.
- Wait for a recognizable obstacle cue when movement repeats.
- Avoid copying a shortcut until you can explain why it works.
- Treat every new server or update as a reason to rescout.
Diagnose each fall
After a failed attempt, classify it before retrying. An alignment error means the avatar traveled beside the target. A timing error means the movement began too early or too late relative to a visible cue. A momentum error means the approach carried too far or not far enough. A visibility error means the camera hid information you needed.
| Observed failure | Single next adjustment | Do not assume |
|---|---|---|
| Landed beside the key | Recenter the target | That more Speed fixes alignment |
| Reached the key too late | Choose an earlier visual cue | A universal timing count |
| Overshot the key | Reduce approach pace | The exact required Speed |
| Obstacle blocked the view | Change camera position | The old video angle is mandatory |
| Returned to the start | Review the earliest error | An unverified checkpoint exists |
Retry with only that adjustment. When several factors change together, a successful landing gives little information and a failure is harder to diagnose.
Build consistency before racing
The official listing encourages races with friends and other players, but racing adds pressure and an unknown comparison. Another player may have different Speed, multipliers, device input, or latency. Finish a section consistently at your own pace first. Then reduce pauses one at a time while keeping the same visual cues.
Exact multiplier values and stage thresholds are not in the verified facts. Use the live upgrade panel, and do not spend merely because a recorded run displayed a number. If your route reaches a World 2 prompt, follow the live requirement; World 2 exists as an associated place, but its unlock condition was not confirmed.
FAQ
Is there one Speed number for every stage?
No verified stage-by-stage Speed table was found. Read the current game feedback and test comparable attempts rather than relying on an unsupported threshold.
Are there checkpoints?
Checkpoint details were not verified. The official description warns that a wrong move can send a player back to the start.
Should I copy a video route exactly?
Use videos as visual examples. Recheck the live layout, your device controls, Speed, and obstacle motion before copying a route.
How can I improve stage timing?
Choose a visible cue, keep the camera angle consistent, change one timing decision, and compare the result across repeated attempts.